
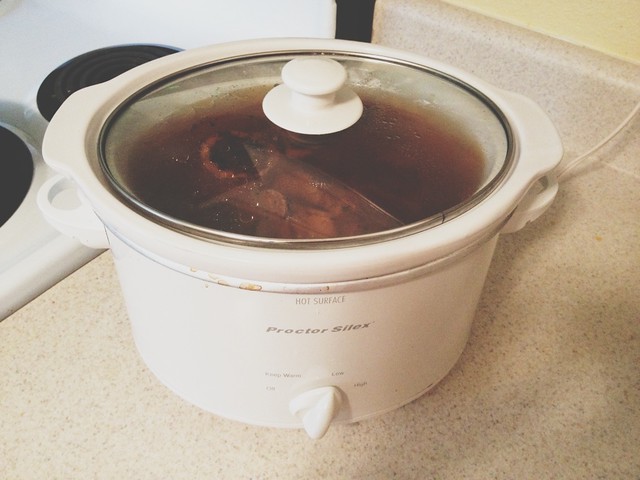
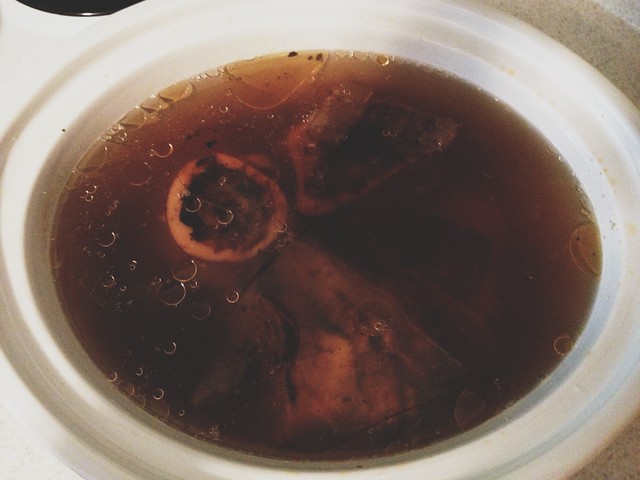
Well, it is officially autumn and it sure feels like it around here! It has been quite chilly and rainy off and on this week. I decided to make a whole bunch of nourishing foods this week as I was thinking of attempting a short version of the GAPS diet. I kind of failed that attempt, though I am still thinking of doing some sort of intro diet like the SCD just for a time. Still working on that darned eczema. Seems cutting out gluten didn't exactly cure me like I thought, although I continue to stay gluten free. Anyway, I learned a lot about making stock and broth this week! I made several batches of chicken broth, although I think they were kind of a failed attempt because they didn't gel like they were supposed to (the beef stock gelled, though). I probably added too much water. Having a chicken foot or two would have helped, I'm sure! I also learned that I am so much more in love with beef broth/stock than I am with chicken. I love chicken, but for some reason I've never been able to LOVE chicken soup. I kind of made myself like it, though. But I still don't crave it or anything, not like I do beef. No wonder it's more expensive! Before learning more about how nutritious meat actually is for us, I tended to make more vegetable stock. But now I know meat broths are so healthy and great to have and so healing for your body. So it's a skill I'd like to perfect. And a good nourishing soup around the house is really wonderful on a chilly autumn day!
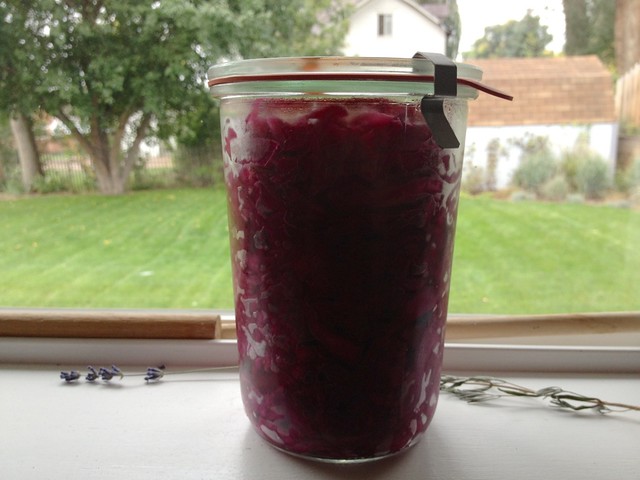
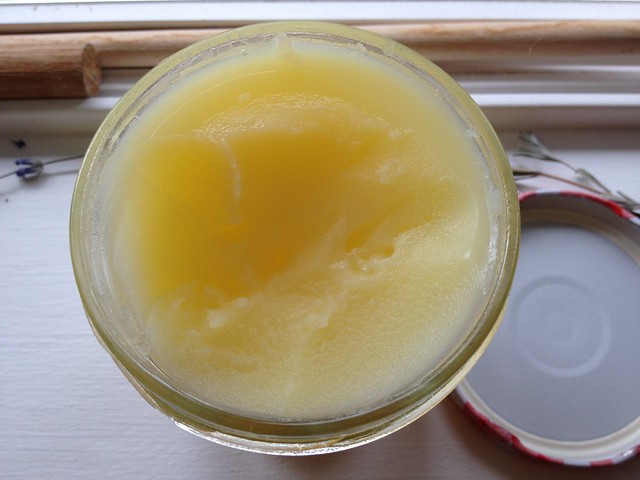
I've also started making more fermented foods. I tried my hand at making sauerkraut last week, though I admit I haven't tasted it yet! It's actually rather pretty, but then anything looks pretty in a Weck jar! I only fermented this batch for three days on the counter. I made it simply with salt and sliced cabbage. I can't remember the exact ratios of salt to cabbage, but I think I used about 1/2 tablespoon for a small cabbage. I thought it was something like a teaspoon per pound, but I think it matters on how long you intend to ferment. More salt for longer ferments.
I started making yogurt again as well. I have made it three other times, but they didn't turn out so great. They were much too runny. This time, I kept an eye on the temperature to make sure it was constant and it worked out wonderfully! I like to strain my yogurt since Jed and I prefer the Greek style. We like just a drizzle of honey on top and sometimes berries if we have them. It's actually a very simple process making yogurt, and you really don't need a yogurt maker. I wrote out how I make my yogurt, but you can also do a search and find many more directions online with more pictures than I was able to include here.
Twenty-Four Hour Yogurt
Ingredients:
- 1/2 gallon (4 pints) whole milk (you can use 1-2%, but it won't be as creamy)
- 1/4 cup plain yogurt (check the label carefully to be sure it has no pectin, sugar or any flavorings. Dannon is good, I used Fage 2%)
Directions:
Unless you are using raw milk, you will first need to heat the milk to 180-185 degrees fahrenheit or until it's very hot, but not boiling. There may be a skin on top, just skim that off. I use my dutch oven to do this step, although you can also slowly heat it up in a crock pot on high until it reaches the temperature. Now let it cool until it reaches 100-112 degrees fahrenheit. You are going to want to keep it at this temperature for the entire 24 hour "ferment." You can speed up the cooling process by putting your pot in the sink filled with icy water.
Once cooled down to the desired temperature, take out a cup or so of milk and put it in a separate bowl. Add 1/4 cup yogurt starter and whisk until fully incorporated. I've found it helps to mix up the yogurt starter before adding it to the milk. If you prefer, you could instead use yogurt starter powder or a good probiotic supplement capsule instead of the store bought yogurt, though I haven't tried this yet. Add the yogurt/milk mixture back into the rest of the milk and mix everything together.
At this point you can either put the milk into sterile glass jars or just keep it in the pot you used to heat the milk. Remember to be sure to keep the temperature of the milk around 100-112. If you have a yogurt maker, you could just put the milk in that and you are set. However, most yogurt makers are meant for 6-8 hour yogurt, so their temperature may not stay at a constant 110 degrees and it may end up getting hotter which would kill all the good bacteria! There are ways around this, such as using a light dimmer from the hardware store. I'm going to actually try this with my crock pot the next time I make yogurt to see if I can just make the whole thing in there rather than use my oven. I'll let you know if it works!
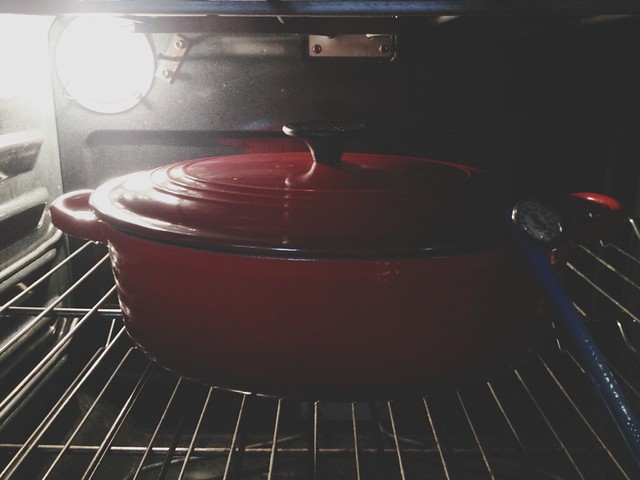
You can use anything from wrapping the pot in towels and setting it in the warmest part of the house or putting jars into a cooler filled with warm water. I've found the easiest method is just using the oven with an oven light. The light keeps the temperature in the oven to almost exactly 110. If I find the temp dropping a little, I just preheat the oven for a few seconds to get it back up again. I kept my thermometer in the yogurt this time to make sure it was exact, but you don't really have to do that. Cover your pot or sterile jars and then leave it there for 24 hours. I put a little sticky note on the oven to remind me and also to let others know that the oven is not to be used during this time. Of course I'm the only one who uses it anyway, so it's not a big deal around here.
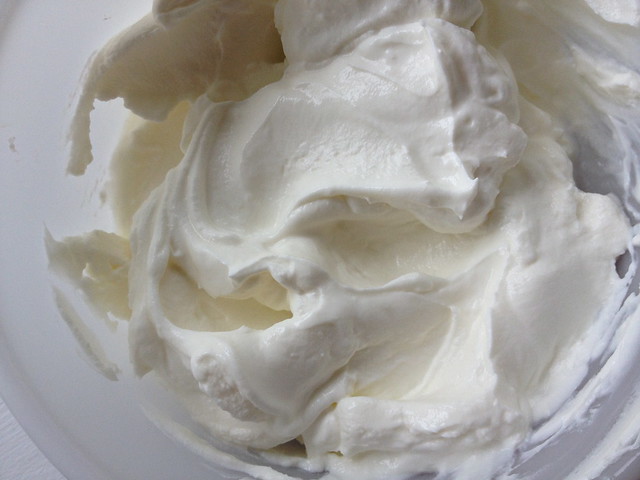
After 24 hours, take the yogurt out and place it directly into the fridge. Let it sit there for another 3-6 hours or so. Once it is cold, you can eat it as is or if you prefer Greek yogurt, you can strain it. I used a flour cloth towel that i put in a strainer over a bowl to catch the whey. Put it back in the fridge for several more hours until it's strained to your liking. You can even strain it long enough to make yogurt cheese! Also, you can keep the whey if you like. Some people use it to ferment veggies or drink a little of it each day. I read it keeps for quite a long time in the fridge. Bon appétit!


